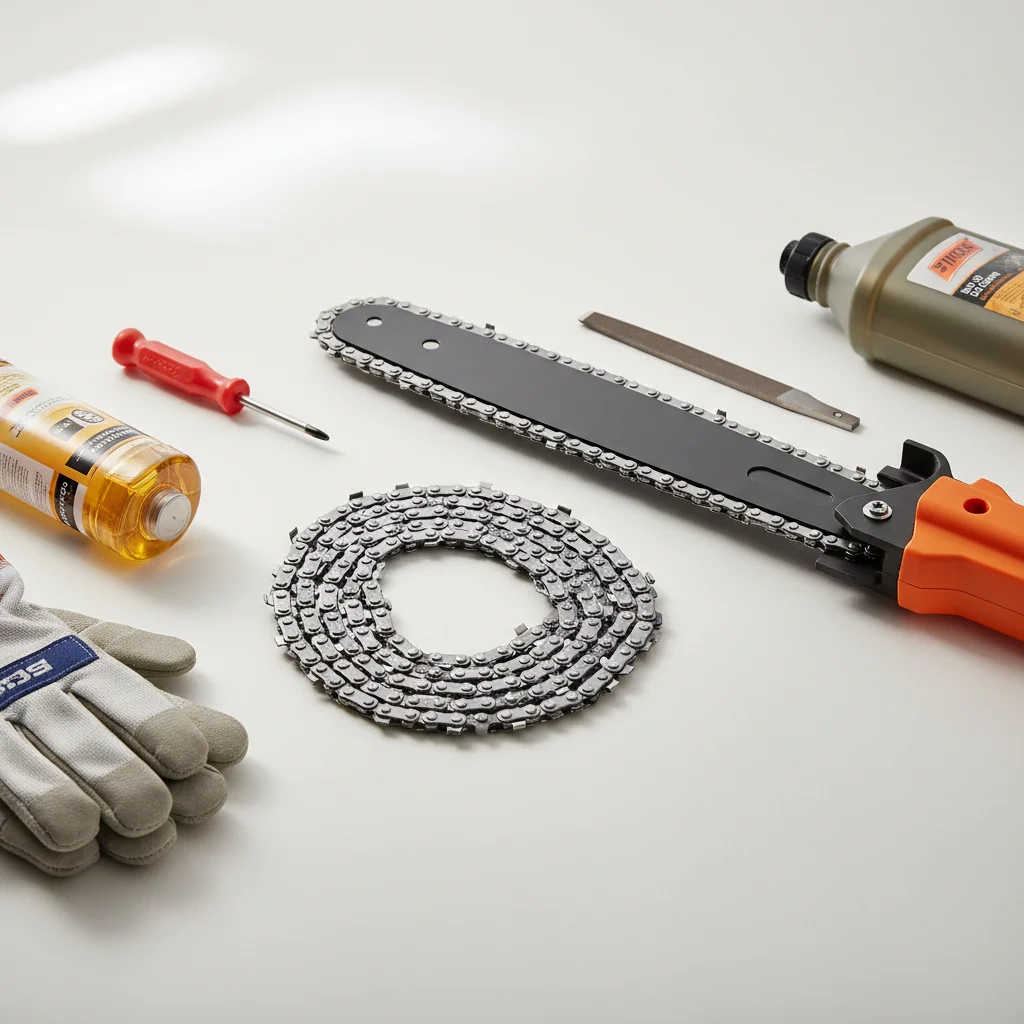
Replacing a pole saw chain is a straightforward maintenance task that can significantly improve cutting performance and safety. A dull or damaged chain not only makes pruning more difficult but can also be dangerous. This guide will walk you through the simple steps to replace your pole saw chain, ensuring your tool is ready for efficient work.
When to Replace Your Pole Saw Chain
Knowing when to replace your pole saw chain is crucial for optimal performance. Signs that indicate a need for replacement include excessive dullness that can’t be sharpened, broken or missing teeth, and stretched links that cause the chain to sag or come off the bar frequently. Regularly inspecting your chain before each use will help you identify these issues early.
Gathering Your Tools and Safety Gear
Before you begin, gather the necessary tools and prioritize safety. You will need a new pole saw chain that matches your saw’s specifications (pitch, gauge, and drive link count), a wrench or screwdriver to adjust the chain tension and remove the bar cover, and work gloves for protection. Always wear safety glasses to protect your eyes from debris.
Step-by-Step Chain Replacement Process
|
Our Picks for the Best Pole Saw in 2026
As an Amazon Associate I earn from qualifying purchases.
|
||
| Num | Product | Action |
|---|---|---|
| 1 | Kerlista Replace part Pole saw attachment + Extension Pole Attachment compatible with Hus 128LD most brushcutters head and Powerheads (Black) |

|
| 2 | Electric 2-in-1 Cordless Pole Saw & 6" Chainsaw, Brushless Pruning Saw with 3.0Ah Battery, 15-Foot Reach Extendable Tree Trimmer for High Branch Pruning & Limb Cutting |
|
| 3 | 36FT Pole Saw, Telescoping Tree Trimmer with 7-30FT Extension Pole, Manual Branches Pruner for Backyard, Blue |
|
| 4 | Greenworks 8-Inch 40V Pole Saw Attachment PS40A00 |
|
| 5 | 12-Inch Chain, Pole Saw Attachment - Compatible with Weed Eater Snapper Craftsman Ryobi WORX Troy-Bilt, and Homelite Multi-Tool Hus 128LD |
|
| 6 | Pole Saw Bag Compatible with Dewalt/Worx/Greenworks/EGO Power+/Black+Decker Electric Telescoping Chainsaw, Cordless Power Saw Storage Case for Extension Tree Trimmer Attachment, Black&Yellow |
|
| 7 | Kerlista Replacement Pole saw Attachment compatible with Weed Eater Snapper dewalt Craftsman Ryobi John Deere Worx Troy-Bilt and Homelite multi-tool Hus 28LD Power head Black |
|
| 8 | Fiskars 15" Replacement Saw Blade, Woodzig Chainsaw Tooth, Compatible Models 9300/9261/TP45, Silver |
|
| 9 | Pole Saw Attachment + Extension Pole Attachment Compatible with 125LDx 128DJx 128LDx 323LD 324LDx 325LDx 326LDx and 327LDx power head or trimmer head Silvery PA1100 575261201 |
|
| 10 | SEESII 10-Inch 2-in-1 Cordless Pole Saw & Mini Chainsaw, 21V Battery Powered Brushless Electric Tree Trimmer with Extension Pole, 2×4000mAh Batteries, Automatic Oiling,Handheld Pruner |
|
The process of replacing your pole saw chain typically involves five key steps. First, ensure the pole saw is turned off and, if it’s a battery model, remove the battery. For gas models, disconnect the spark plug wire to prevent accidental starting. Second, use your wrench or screwdriver to loosen the nuts or bolts holding the bar cover in place. Remove the cover to expose the guide bar and chain.
- Carefully remove the old chain from the guide bar and sprocket.
- Clean any sawdust or debris from the guide bar groove and around the sprocket.
- Install the new chain, ensuring the cutting teeth are facing the correct direction.
- Place the chain around the sprocket and into the guide bar groove.
- Reattach the bar cover and tighten the nuts or bolts, leaving them slightly loose for tension adjustment.
Adjusting Chain Tension and Final Checks
Once the new chain is on, adjust the tension. The chain should be snug against the guide bar but still able to be pulled freely by hand. A good rule of thumb is that the chain should not sag on the underside of the bar, and you should be able to pull a drive link out of the bar groove by about 1/8 to 1/4 inch. Over-tightening can cause premature wear, while a loose chain can derail. After adjusting, fully tighten the bar cover nuts or bolts. Perform a quick test run at a low speed to ensure the chain operates smoothly and safely.Regular maintenance, including proper chain tensioning, extends the life of your pole saw and ensures efficient cutting. Always refer to your pole saw’s owner’s manual for specific instructions and safety guidelines.

Great tips here. My old chain was constantly sagging and coming off the bar, which was super frustrating. After reading this, I realized it was definitely time for a replacement. The step-by-step on how to tension the new chain was particularly helpful, and now it stays put. Much safer too!
My pole saw was barely cutting through anything anymore, just tearing at branches. I followed the advice about checking for broken teeth and sure enough, a few were chipped. Replacing the chain made a huge difference in performance. It’s like having a brand new tool without the cost. Thanks for the clear instructions!
The guide was mostly good, but I wish it had mentioned more about different chain types. I have a Stihl pole saw and finding the exact match for the pitch and gauge was a bit confusing. Ended up having to do some extra research on my own to make sure I got the right one. Still, the actual replacement steps were clear.
I’ve been putting off replacing my pole saw chain for ages because I thought it would be a huge hassle. This guide made it so simple! I had a new chain on my Greenworks pole saw in about 15 minutes, and it’s cutting like new again. Definitely recommend following these steps if your chain is getting dull.