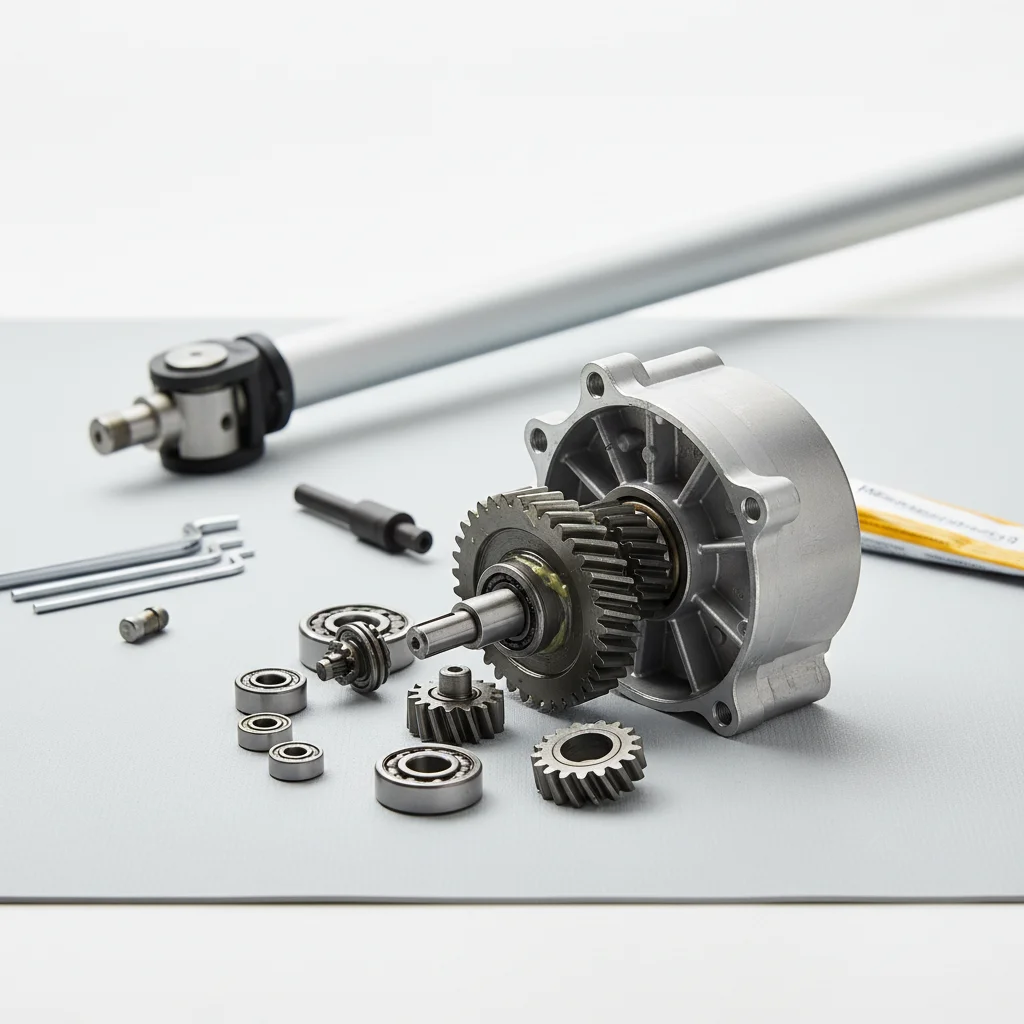
Repairing a pole saw gearbox can often be a straightforward DIY task, addressing common issues like stripped gears or lubricant leaks. Most repairs involve disassembling the gearbox, inspecting components, and replacing worn parts such as gears, bearings, or seals. This guide will walk you through the process, helping you restore your pole saw’s functionality and extend its lifespan.
Identifying Common Gearbox Problems
Before you begin any repair, it’s crucial to accurately diagnose the problem. Common signs of a faulty pole saw gearbox include unusual noises (grinding, whining), loss of power, the chain not moving, or visible oil leaks. Grinding noises often indicate stripped gears or worn bearings, while a non-moving chain despite the engine running points to a complete gear failure or a disconnected drive shaft. Oil leaks are usually due to degraded seals.
Tools and Materials You’ll Need
For a successful gearbox repair, gather the right tools and replacement parts. You’ll typically need a set of screwdrivers (Phillips and flathead), a socket wrench set, snap ring pliers, a small pry bar, and a clean rag. For materials, ensure you have the correct replacement gears, bearings, and seals specific to your pole saw model. Always consult your pole saw’s manual for part numbers and specifications. You may also need a tube of high-quality gearbox grease.
- Screwdriver set (Phillips and flathead)
- Socket wrench set
- Snap ring pliers
- Small pry bar
- Replacement gears, bearings, and seals
Step-by-Step Gearbox Disassembly
|
Our Picks for the Best Pole Saw in 2026
As an Amazon Associate I earn from qualifying purchases.
|
||
| Num | Product | Action |
|---|---|---|
| 1 | Fiskars 15" Replacement Saw Blade, Woodzig Chainsaw Tooth, Compatible Models 9300/9261/TP45, Silver |

|
| 2 | Greenworks 8-Inch 40V Pole Saw Attachment PS40A00 |
|
| 3 | Pole Saw Bag Compatible with Dewalt/Worx/Greenworks/EGO Power+/Black+Decker Electric Telescoping Chainsaw, Cordless Power Saw Storage Case for Extension Tree Trimmer Attachment, Black&Yellow |
|
| 4 | 12-Inch Chain, Pole Saw Attachment - Compatible with Weed Eater Snapper Craftsman Ryobi WORX Troy-Bilt, and Homelite Multi-Tool Hus 128LD |
|
| 5 | SEESII 10-Inch 2-in-1 Cordless Pole Saw & Mini Chainsaw, 21V Battery Powered Brushless Electric Tree Trimmer with Extension Pole, 2×4000mAh Batteries, Automatic Oiling,Handheld Pruner |
|
| 6 | Kerlista Replacement Pole saw Attachment compatible with Weed Eater Snapper dewalt Craftsman Ryobi John Deere Worx Troy-Bilt and Homelite multi-tool Hus 28LD Power head Black |
|
| 7 | 36FT Pole Saw, Telescoping Tree Trimmer with 7-30FT Extension Pole, Manual Branches Pruner for Backyard, Blue |
|
| 8 | Kerlista Replace part Pole saw attachment + Extension Pole Attachment compatible with Hus 128LD most brushcutters head and Powerheads (Black) |
|
| 9 | Pole Saw Attachment + Extension Pole Attachment Compatible with 125LDx 128DJx 128LDx 323LD 324LDx 325LDx 326LDx and 327LDx power head or trimmer head Silvery PA1100 575261201 |
|
| 10 | Electric 2-in-1 Cordless Pole Saw & 6" Chainsaw, Brushless Pruning Saw with 3.0Ah Battery, 15-Foot Reach Extendable Tree Trimmer for High Branch Pruning & Limb Cutting |
|
Begin by ensuring your pole saw is turned off and disconnected from its power source (battery removed or spark plug wire disconnected for gas models). Locate the gearbox housing, usually at the end of the pole near the cutting head. Carefully remove the screws or bolts securing the housing. Once the housing is open, you’ll expose the internal gears and bearings. Take photos as you go to aid in reassembly. Remove any snap rings or retaining clips holding the gears in place, then gently pry out the gears and bearings, noting their orientation.
Replacing Worn Components and Reassembly
Inspect all components for wear and tear. Replace any gears with chipped or stripped teeth, bearings that feel rough or have excessive play, and seals that are cracked or brittle. Clean the inside of the gearbox housing thoroughly, removing any old grease or debris. Apply a fresh layer of high-quality gearbox grease to the new gears and bearings before reinserting them. Ensure all snap rings and retaining clips are securely in place. Carefully close the gearbox housing, making sure all seals are properly seated, and tighten the screws or bolts. Do not overtighten.
Testing Your Repaired Pole Saw
After reassembly, perform a test run to ensure the repair was successful. Start the pole saw (following all safety precautions) and observe the chain’s movement. Listen for any unusual noises. The chain should move smoothly and consistently without any grinding or hesitation. If you notice any issues, immediately turn off the pole saw and re-examine the gearbox. Sometimes, a component might not be seated correctly, or a seal could be pinched. A successful test means your pole saw is ready for use again, saving you the cost of a professional repair or replacement.
